
How to Prepare Print-Ready Artwork: A Practical Guide
Preparing artwork for print requires a few key steps that differ from designing for digital screens. Without the correct setup, files can lead to colour shifts, blurred images, or unexpected white edges after trimming.
This post provides an overview of some of the key terms and principles involved in preparing print-ready artwork, including document sizing, bleed, colour modes, image resolution and exporting the correct PDF settings. If you’re looking for a more detailed explanation of how to prepare artwork for print, along with practical examples and a handy reference checklist, you can download our full artwork guide below.
Quick summary: Print-ready artwork should be set up in CMYK, include 3mm bleed, use high-resolution images (300dpi) and be exported as single pages as a print-ready PDF.
We’ve put together an in-depth guide, along with some step-by-step instructions on how to set up artwork using industry standard software such as Adobe InDesign and Illustrator, and also covered off a more modern way of working that we are seeing more and more – Canva.
Just want to download the guides? Find them here:
Contents – Quick Links
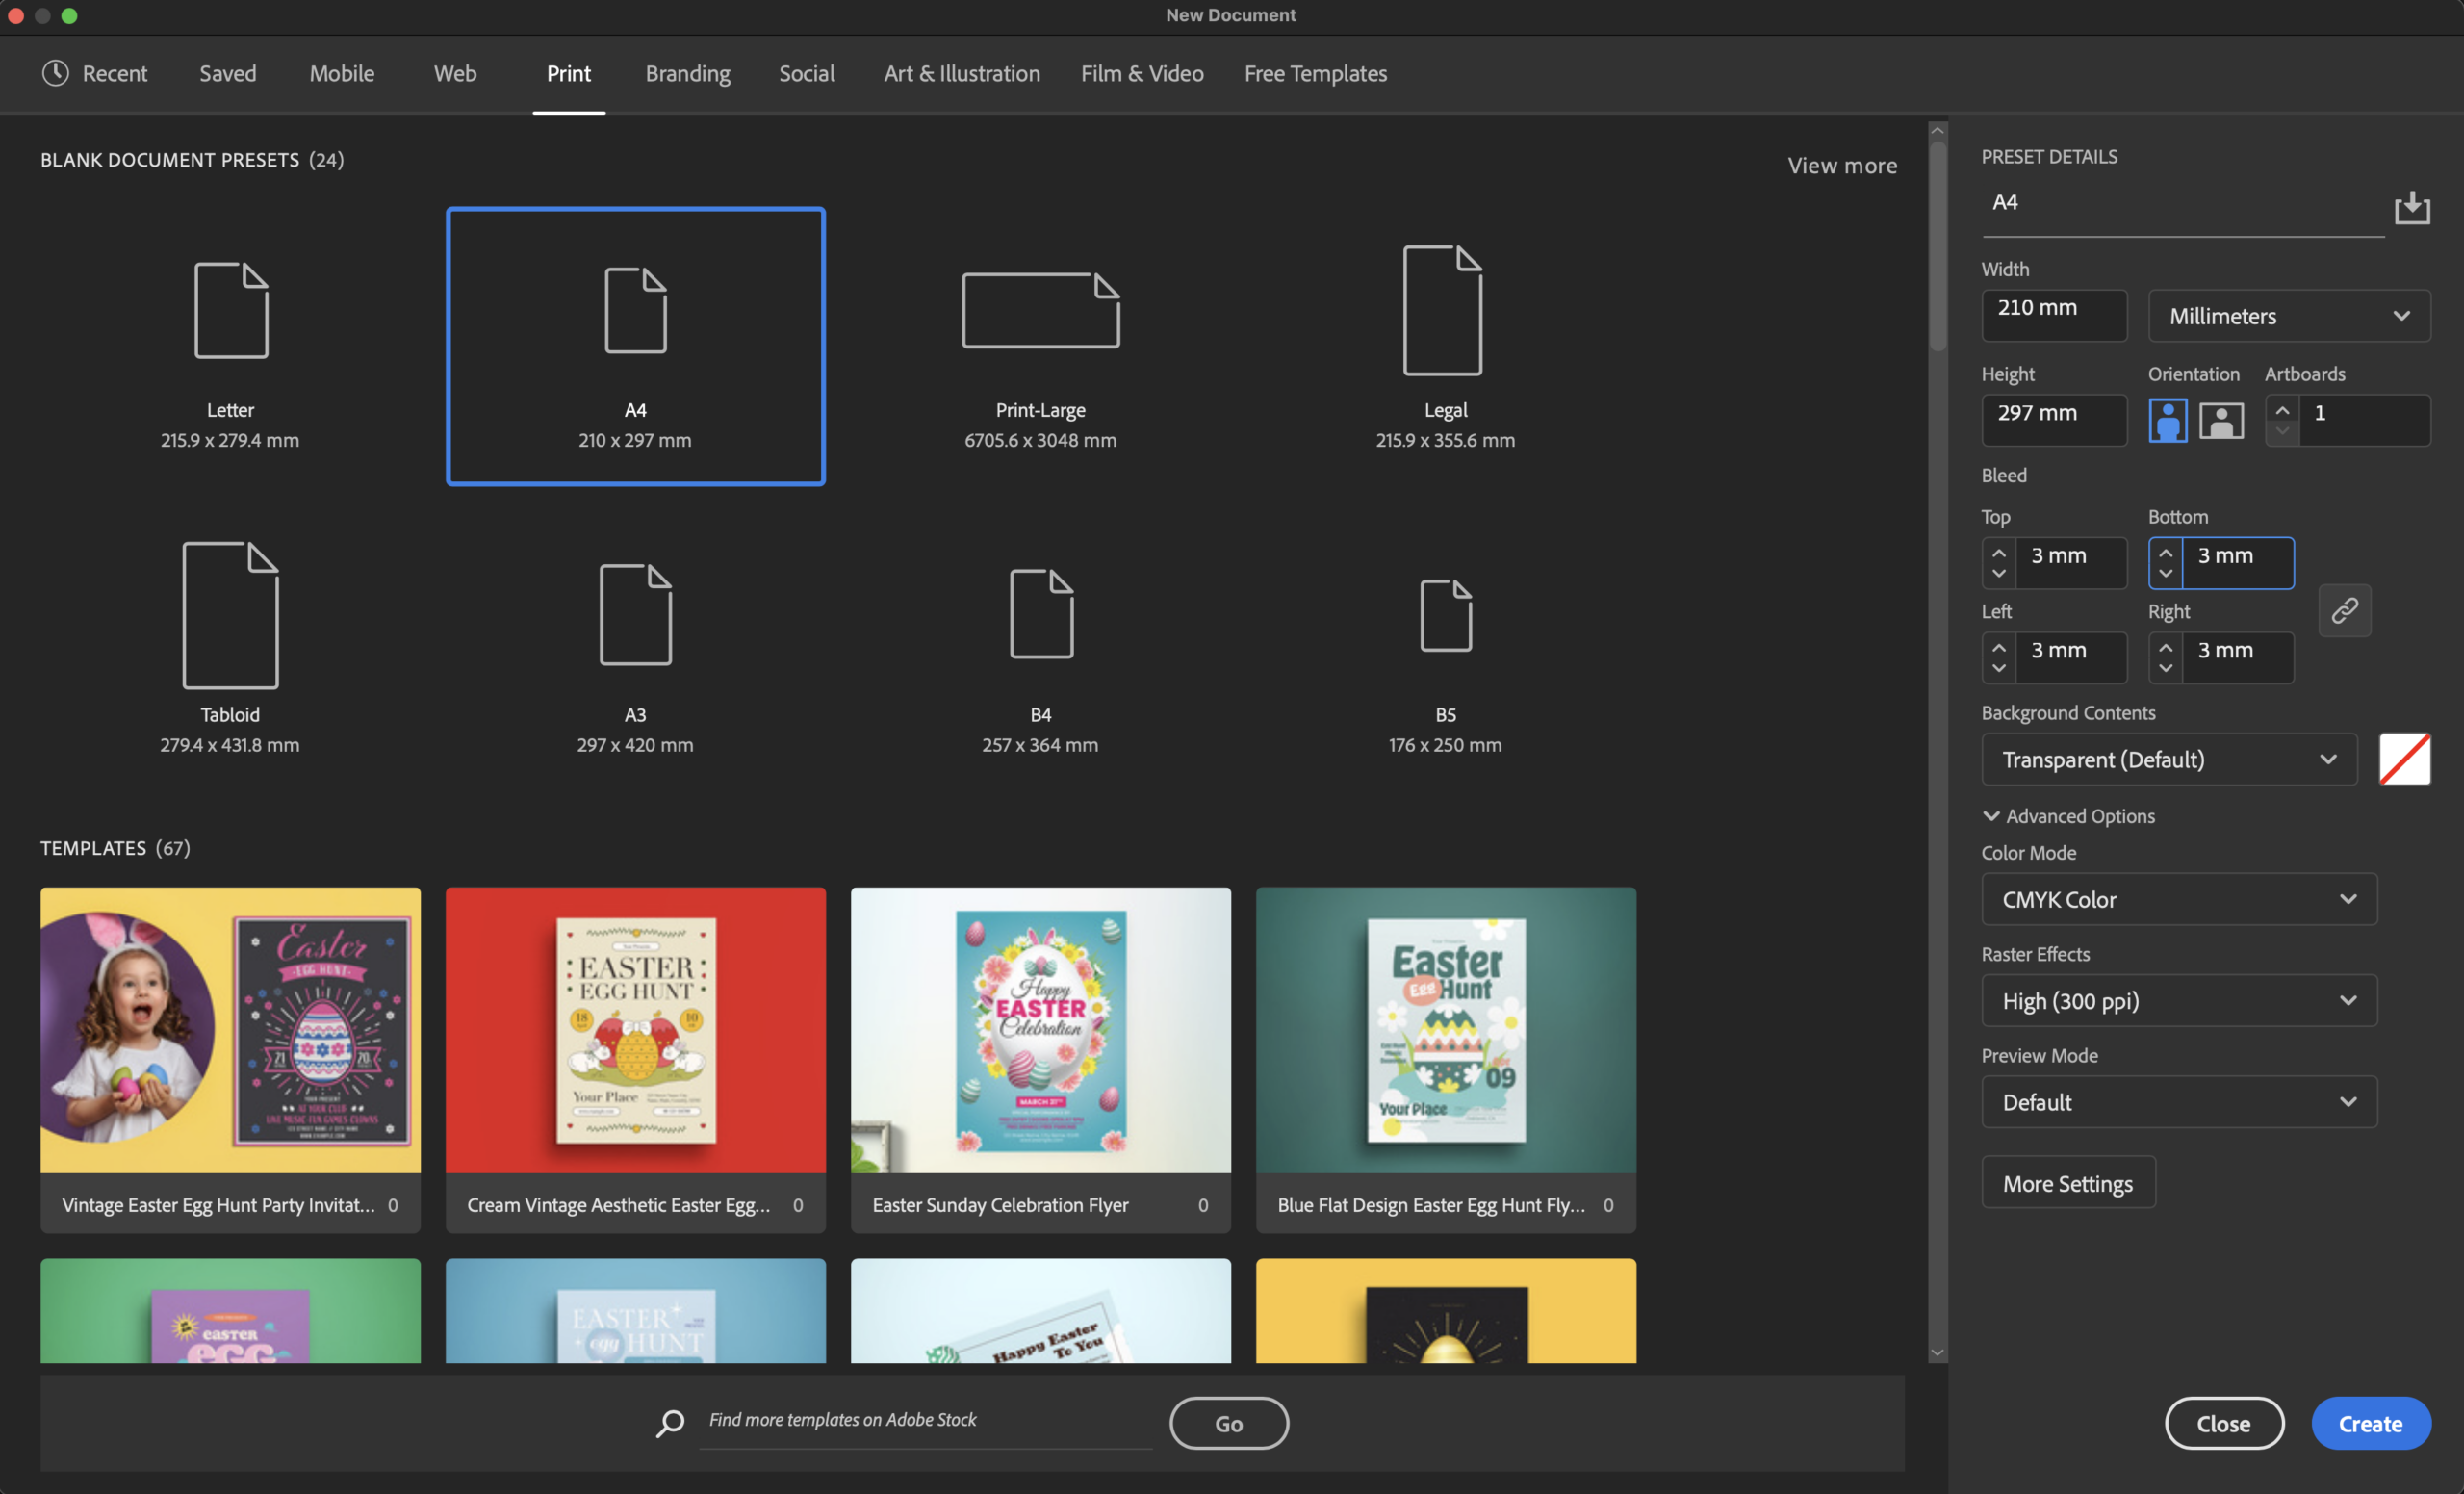
Choosing the Correct Document Size
The first step in preparing print-ready artwork is setting the correct document size.
The finished size refers to the final dimensions after printing and trimming. For example, an A5 leaflet finishes at 148 × 210mm.
Tip: Always set document measurements in millimetres (mm) rather than pixels when designing for print.
If your artwork will be used across multiple formats, design at the largest size first and scale down where necessary. Scaling smaller designs upwards can reduce image quality and create pixelated graphics.
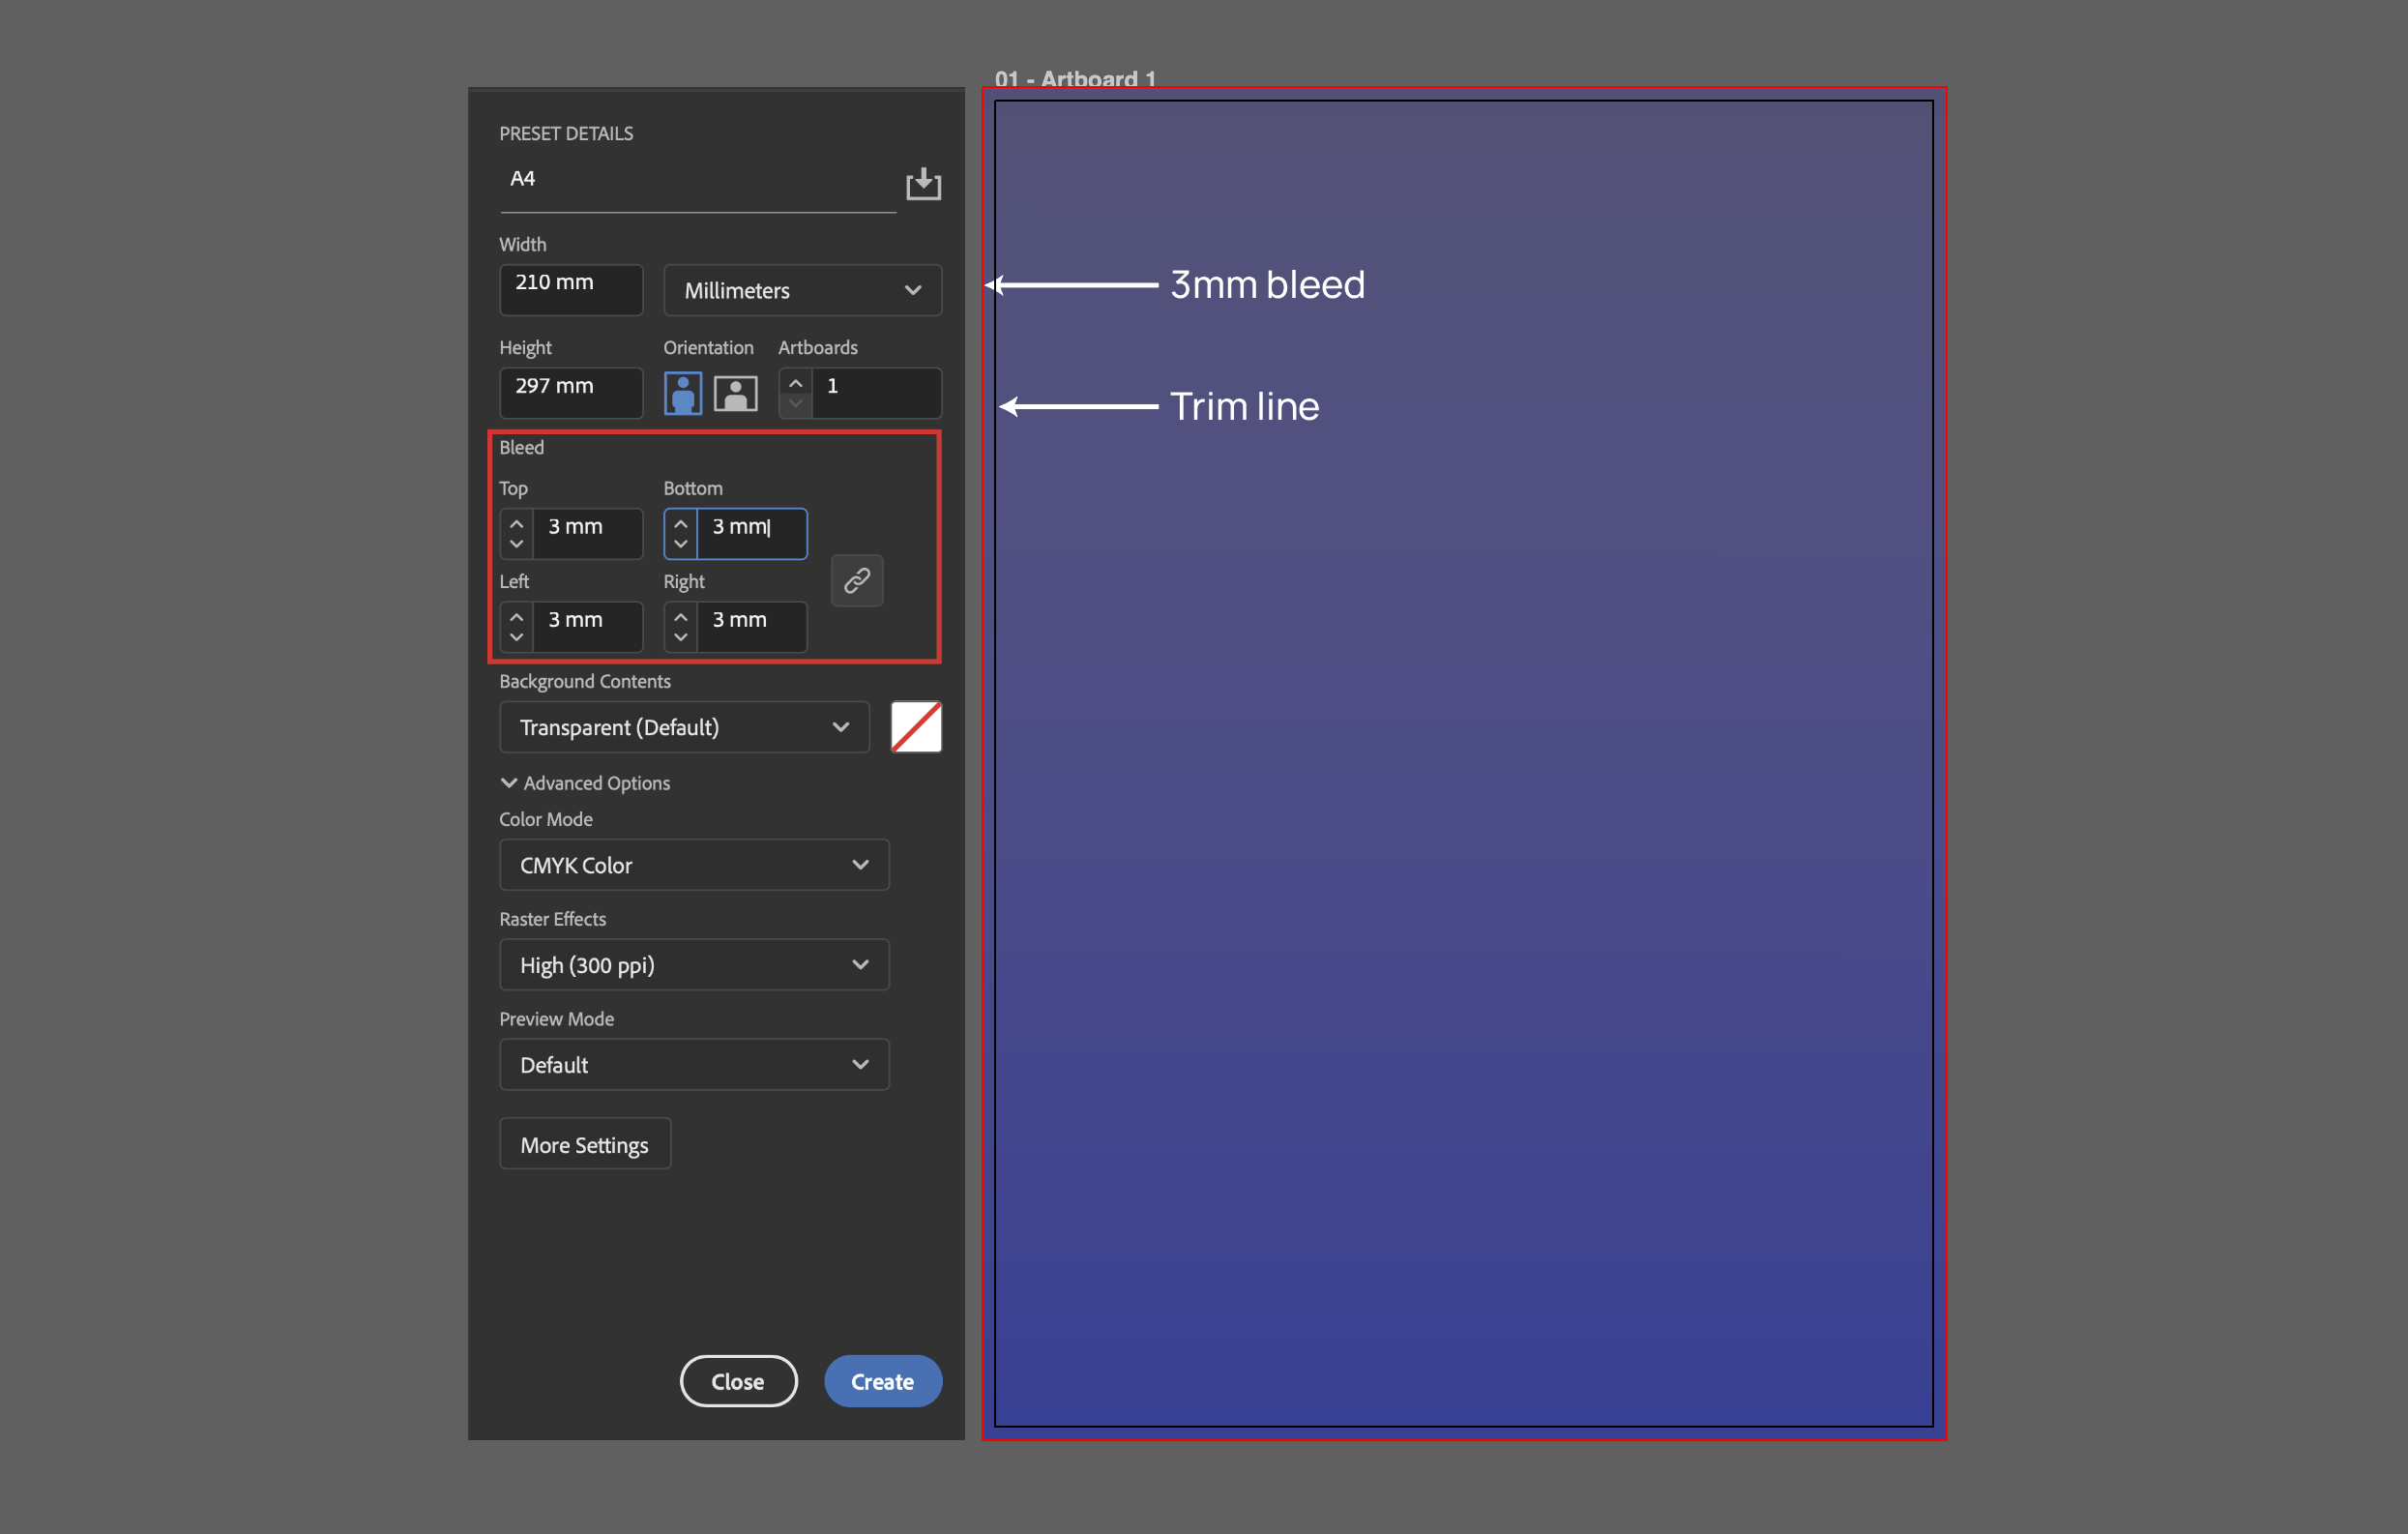
What Is Bleed in Printing?
Bleed refers to the extra area of artwork that extends beyond the final trim edge of a printed document.
This ensures that when the sheet is trimmed, colour or background images continue fully to the edge without leaving white borders.
For example, if your finished leaflet size is A5 (148 × 210mm), the document size including bleed should be 154 × 216mm.
Important content such as text or logos should stay inside the safe area, typically around 10mm inside of the trim edge.
3mm
Standard bleed on each side
10mm
Recommended safe margin for text
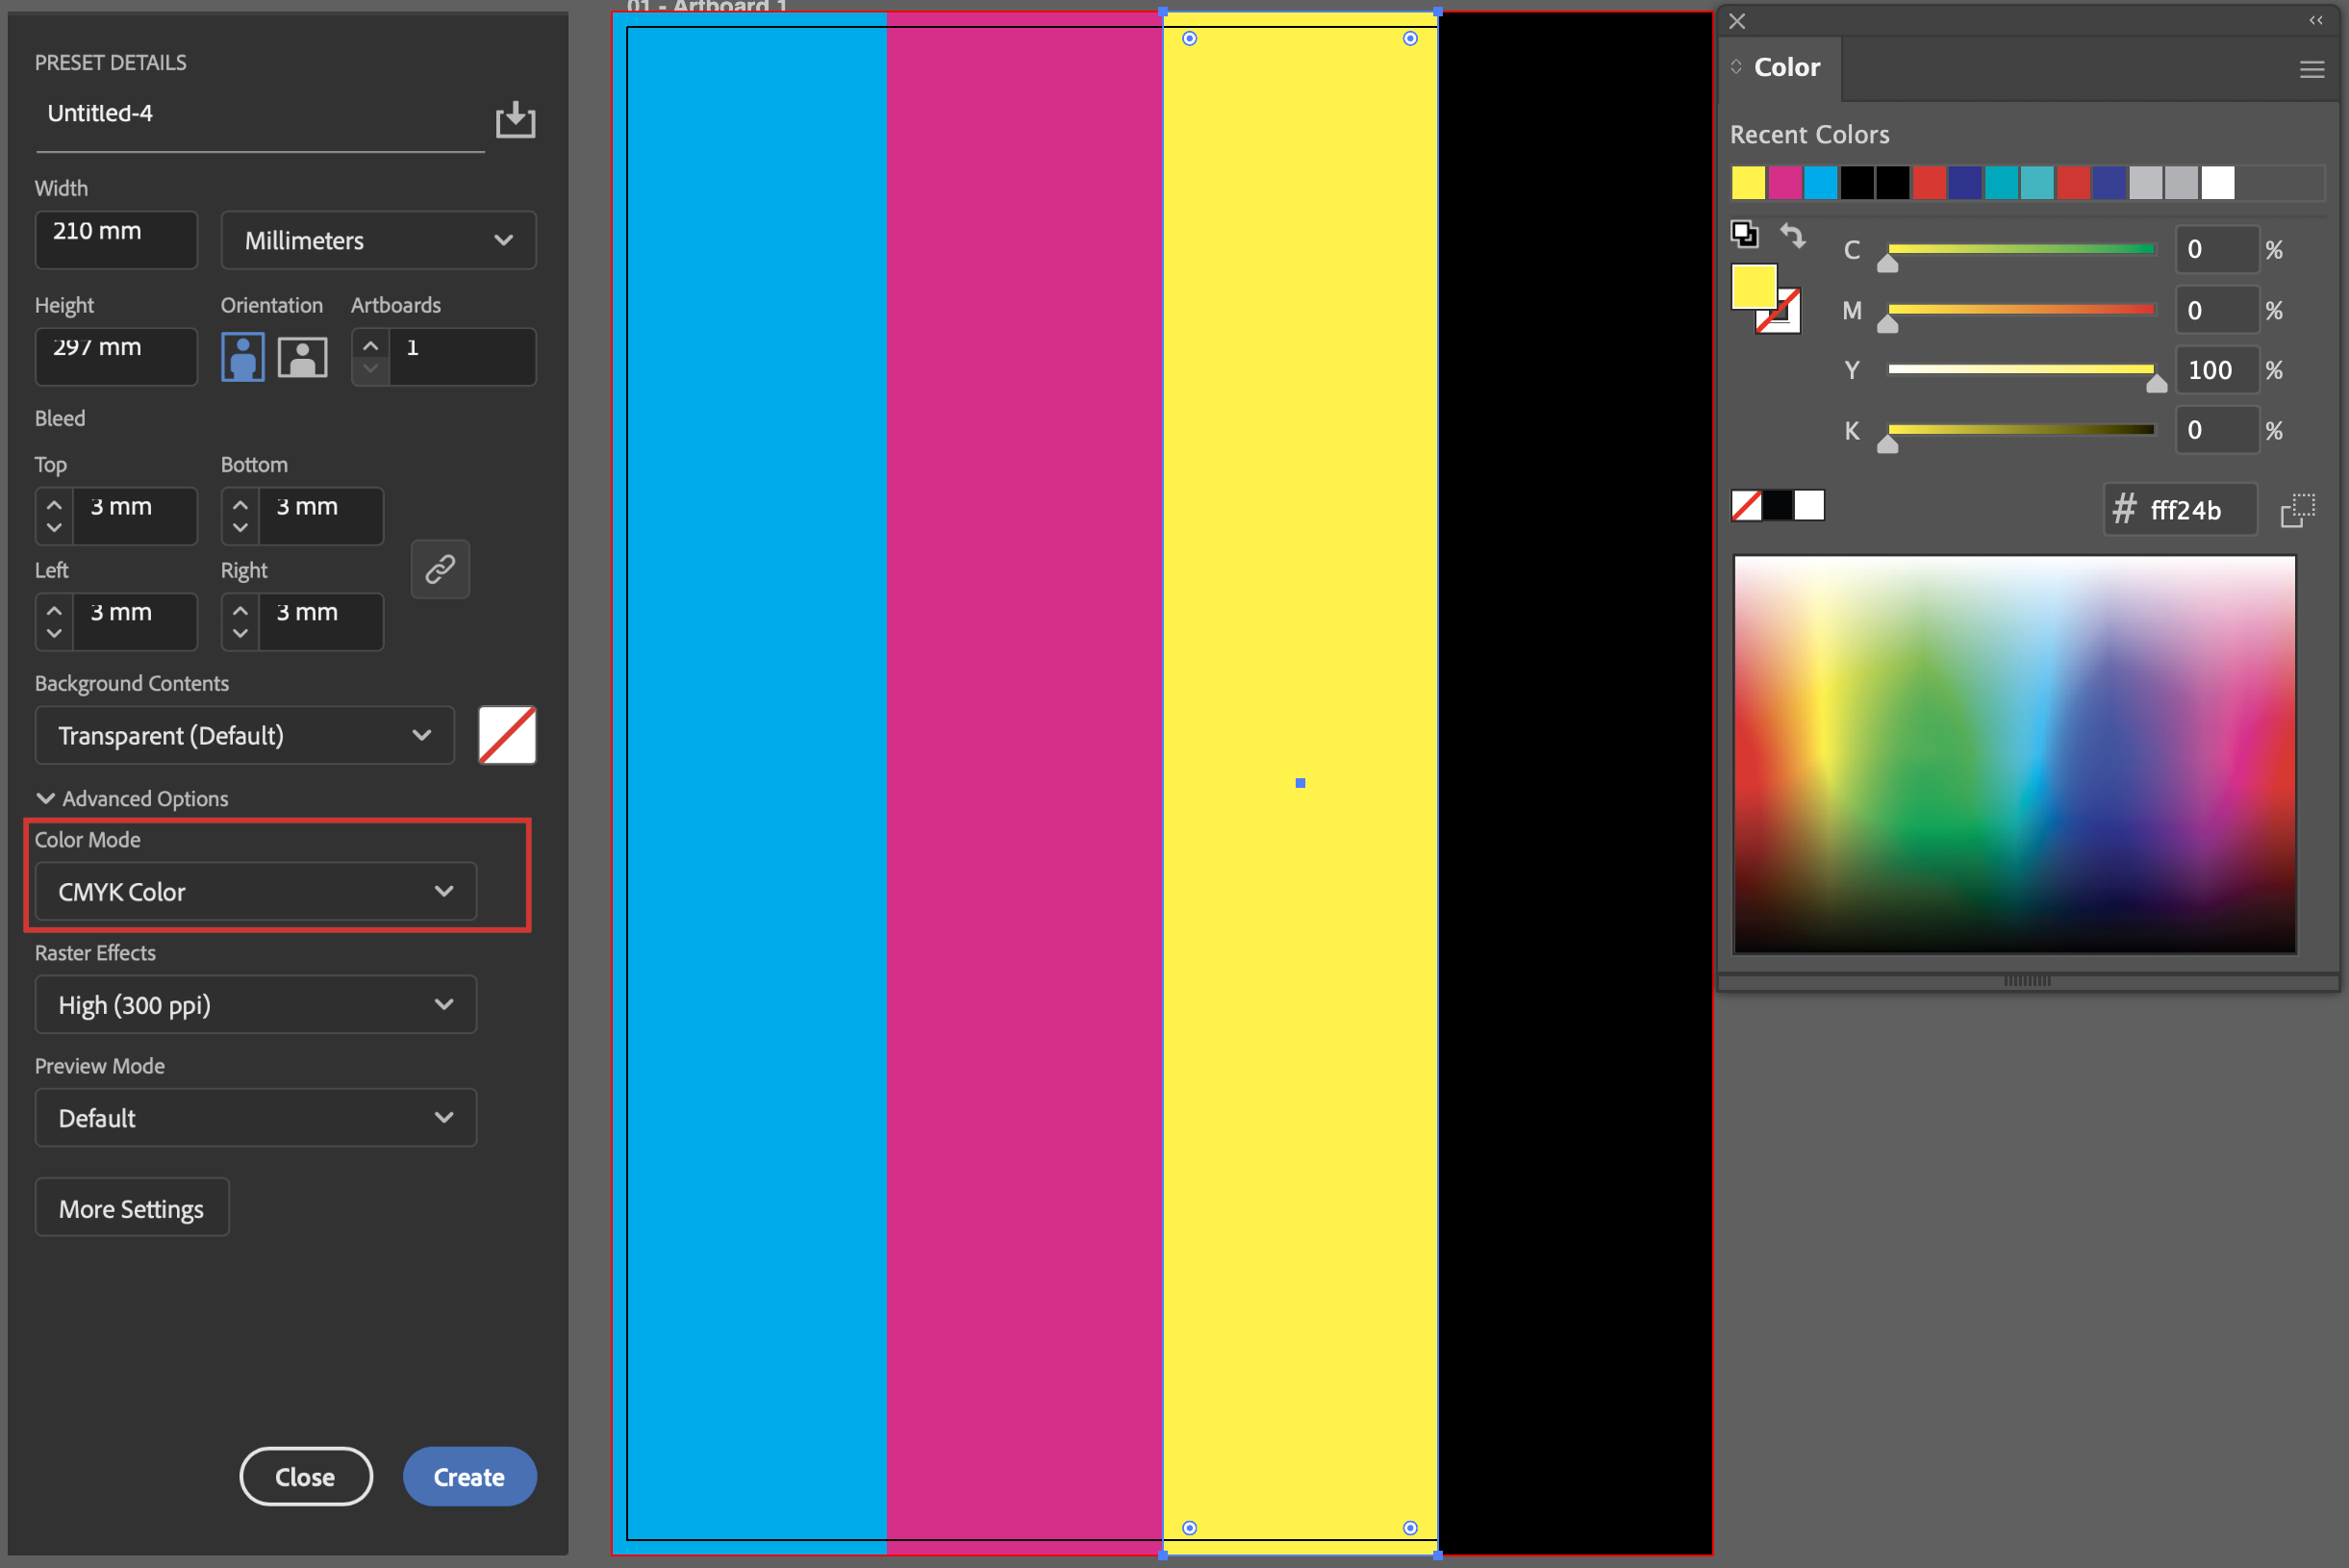
RGB vs CMYK: Which Colour Mode Should You Use?
Screens display colour using the RGB colour model (Red, Green and Blue), while printers reproduce colour using CMYK inks (Cyan, Magenta, Yellow and Black).
Because RGB has a wider colour range, colours may appear more vibrant on screen than when printed.
Best practice: Always create print artwork using CMYK colour mode.
Any images placed within the design should also be converted to CMYK before export.
What Are Spot Colours in Printing?
Spot colours are used when a specific ink or production process needs to be identified in the artwork.
These might include:
- Pantone brand colours
- Spot UV varnish
- Die cut shapes
- Creases or folds
Design software allows these elements to be assigned as spot colours so printers can identify exactly where they should be applied during production.
Should Multi-Page Artwork Be Supplied as Spreads or Pages?
Multi-page artwork should normally be supplied as single pages rather than spreads.
Printers arrange pages using a process called imposition, which ensures pages print, fold and trim correctly in the finished document.
Recommended software: Adobe InDesign is ideal for brochures and booklets, while Illustrator works well for single-page designs.
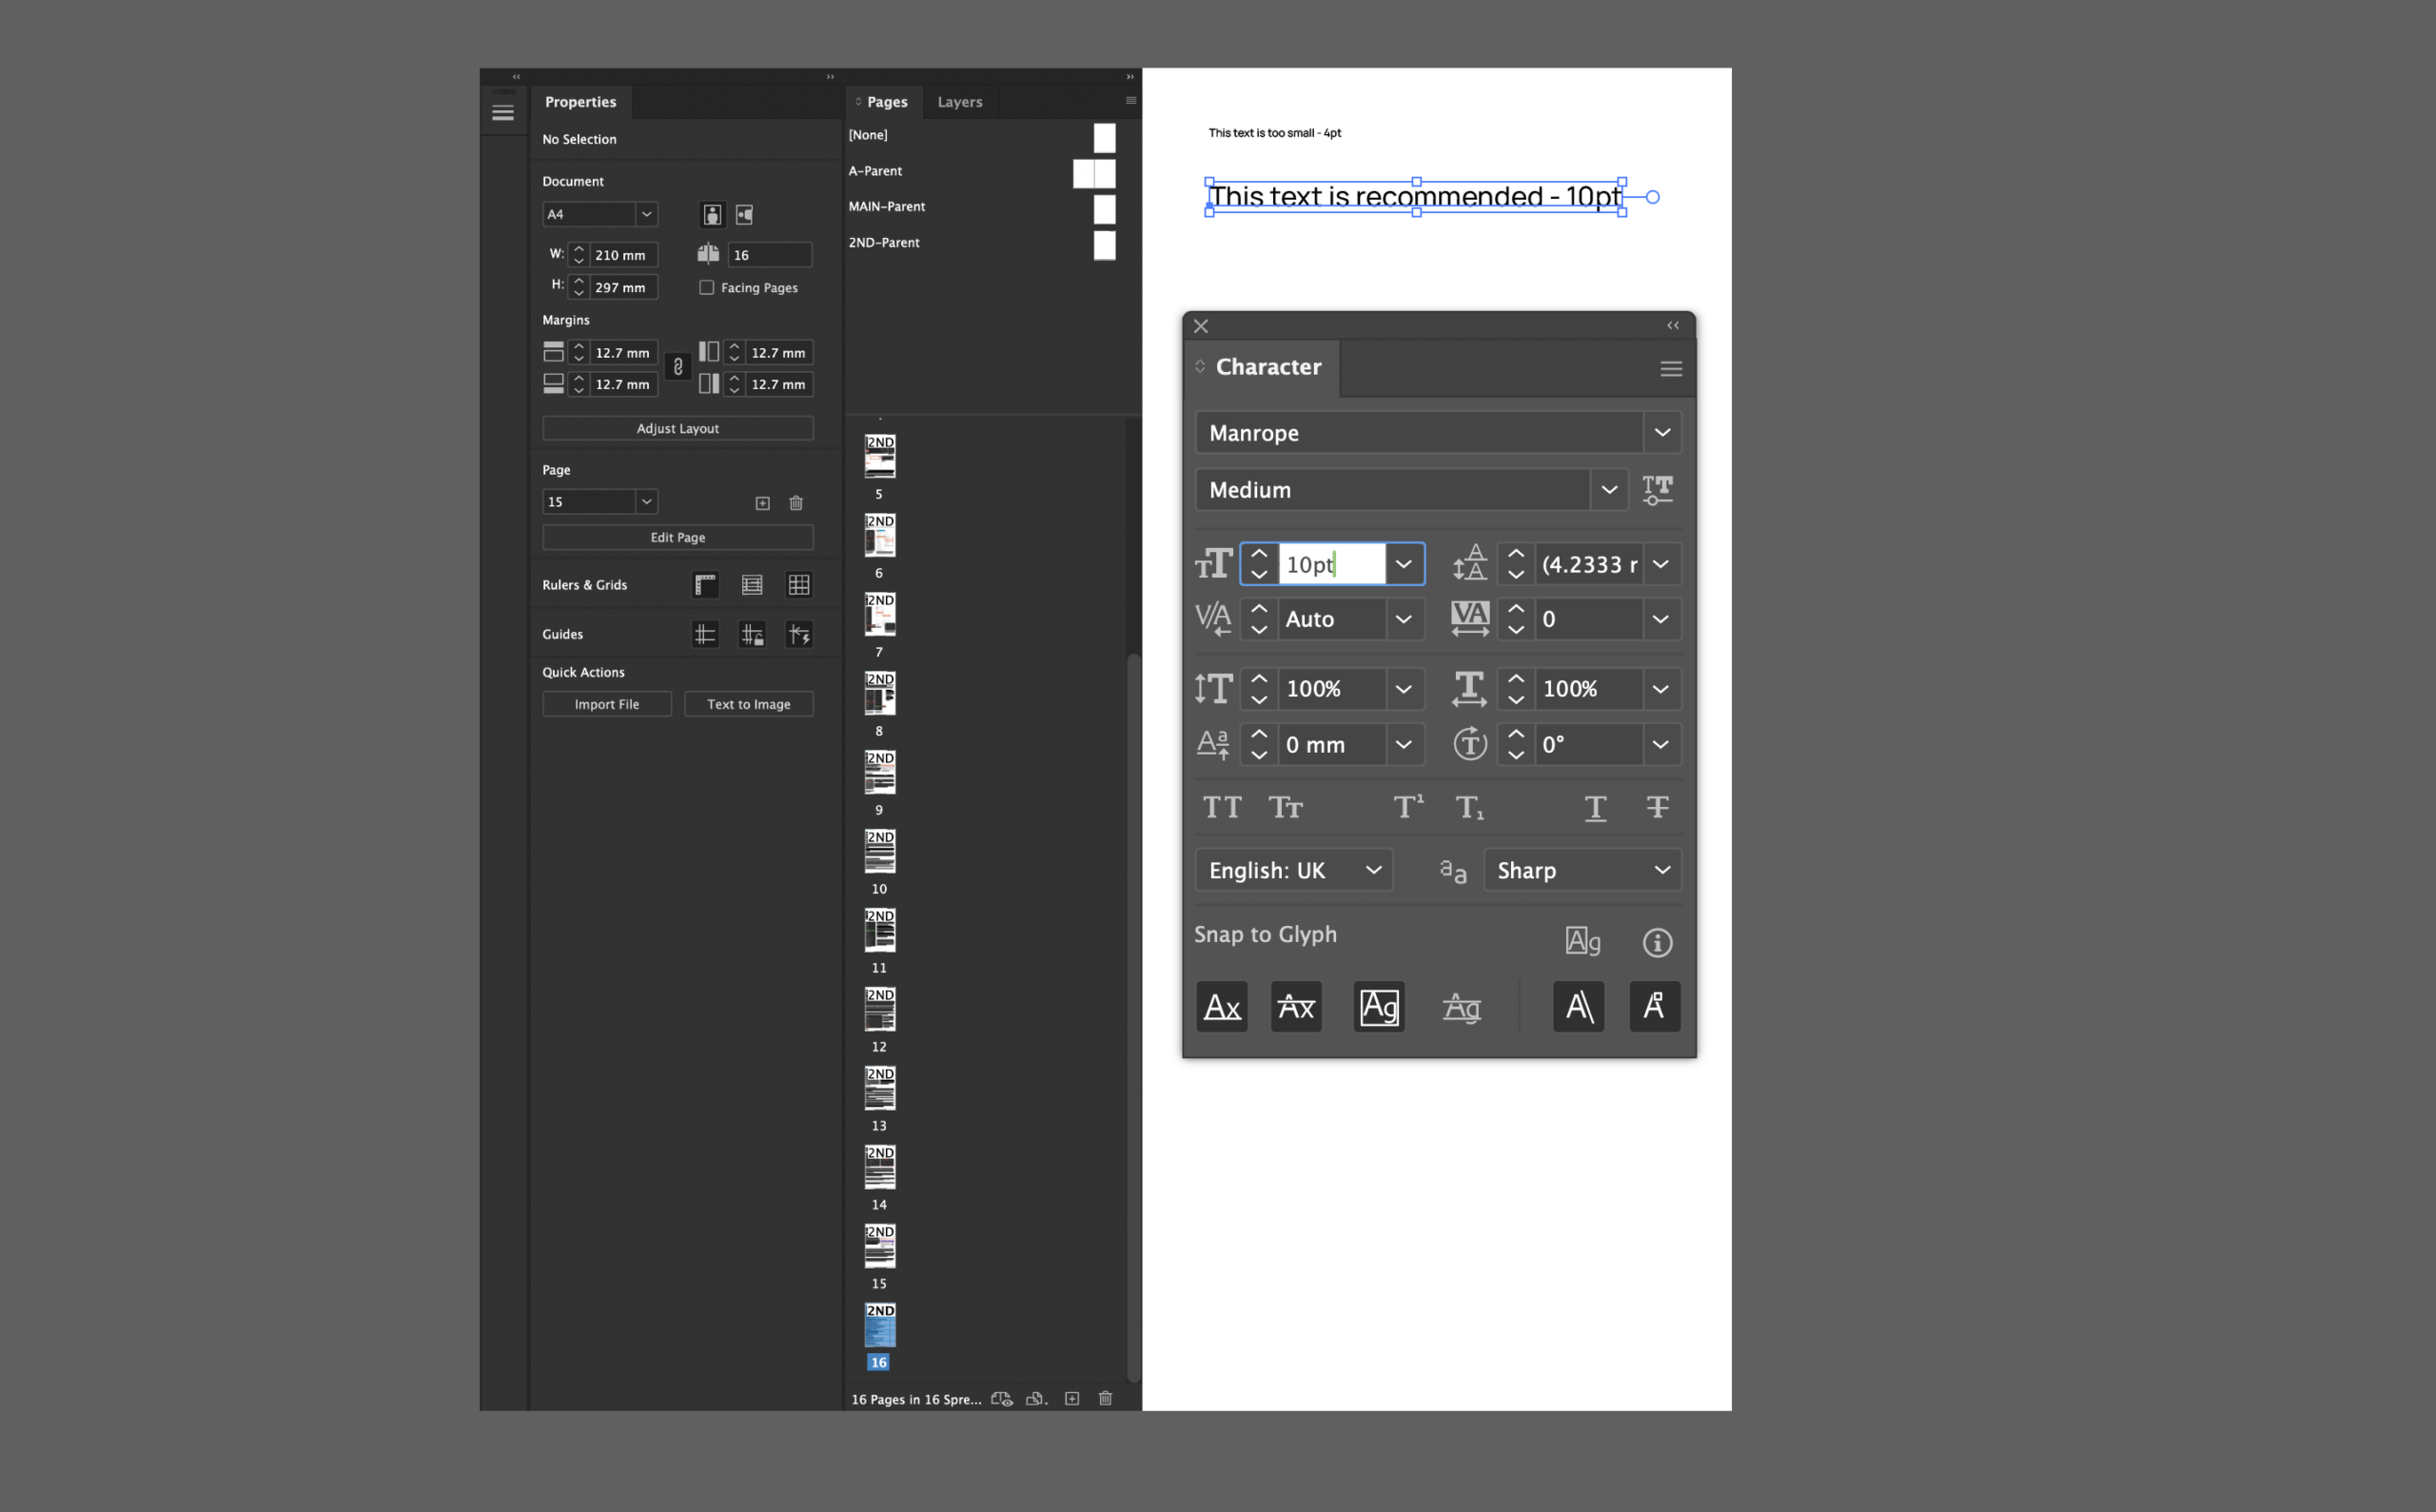
What Font Sizes Work Best for Print?
Text should remain readable once printed, particularly on smaller formats such as leaflets or booklets.
- Minimum body text: 6–7pt
- Recommended reading size: 8–10pt
- Reversed text should be slightly larger
Very thin fonts can struggle when printed, particularly on textured materials or when printed in reverse (white on dark).
What Image Resolution Is Needed for Print?
Images used in printed artwork should typically be supplied at:
300dpi at final print size
Images taken from websites are often too low resolution for print and may appear blurry when enlarged.
Where possible, logos and graphics should be supplied as vector files, which can scale without losing quality.
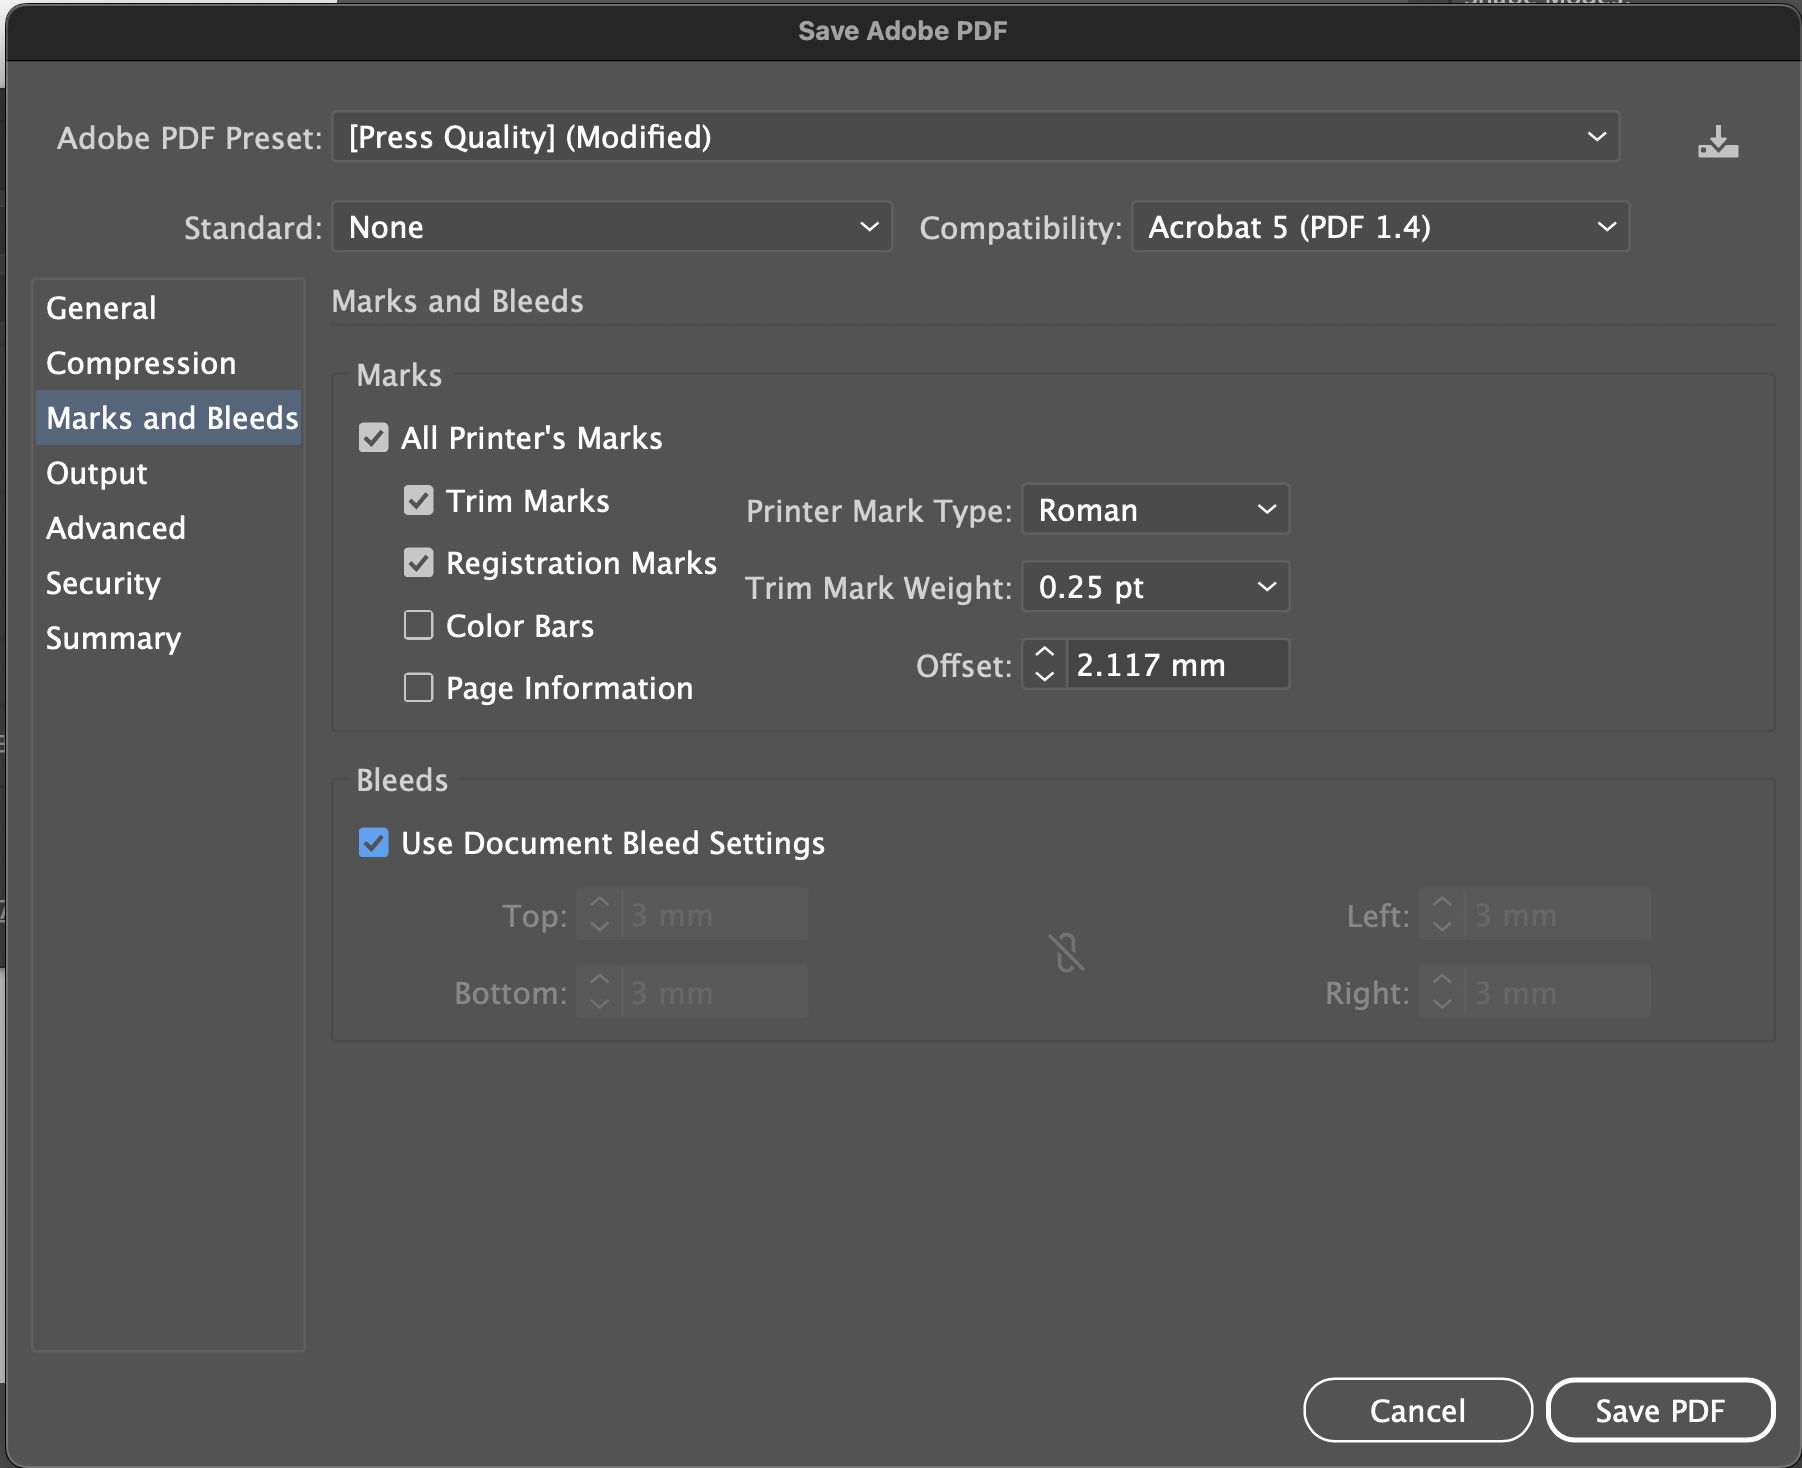
How to Export a Print-Ready PDF
Most printers prefer artwork supplied as a print-ready PDF.
Before exporting, check that:
- The document size matches the trim size
- 3mm bleed is included
- Crop marks are enabled
- Images remain high resolution
- Fonts are embedded or outlined
- Pages export as single pages
Opening and reviewing the exported PDF before sending it to print is always recommended.
Download the Full Artwork Guide
If you’d like a printable reference while designing, you can download our full Artwork Guide and checklist, or if you have any questions or suggestions, get in touch with us.